
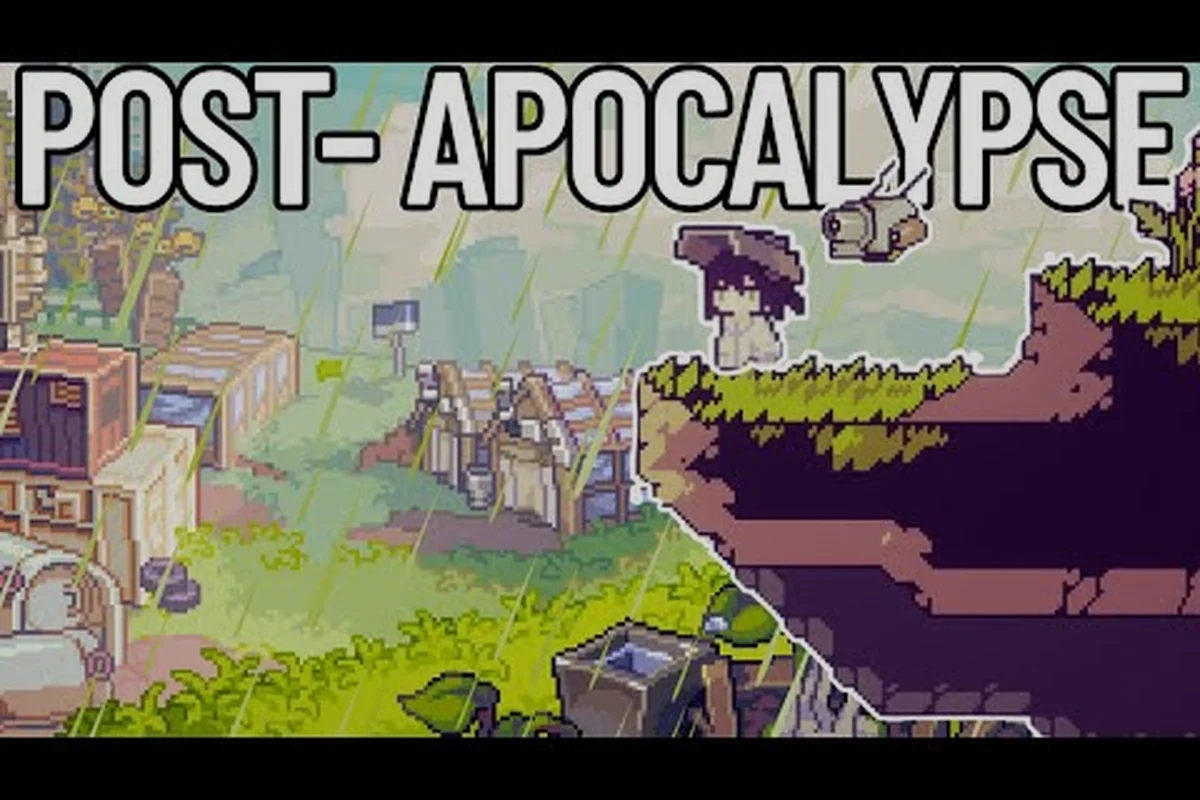
天候は、この放射能に汚染されたポストアポカリプスの渓谷における農業者への最大の脅威であり、一度読み解き方を学べば最も報酬の高いリソースシステムへと変貌します。この Doloc Town weather guide では、4つの季節、それぞれを特徴づける極端な気象現象、そして敵対的な空を無償の電力、無償の水、無償の肥料へと変える遺伝子変異について詳しく解説します。
Doloc Town の天候システムを理解する
Doloc Town の世界は、Mistshade、Raincrest、Blazefall、Emberreach という4つの異なる季節を循環し、それぞれに固有の極端な気象現象が伴います。酸性雨が有毒な雲から降り注ぎ、雷雨が金属の屋根の上で轟き、焼けつく暑さが保護されていない作物を数分で灰に変えます。Doloc Town 1.0 リリースアナウンスによれば、天候は表面的な装飾ではなく、農業、発電、遺伝子発現に織り込まれた 핵심的なサバイバル要素です。
これが初日から重要である理由:予報を無視するプレイヤーは畑、家畜、クラフト素材を失います。予報を念頭に計画を立てるプレイヤーは、どの店でも売っていない受動的なエネルギー、受動的な灌漑、遺伝子ステータスのブーストを獲得します。公式 Doloc Town Steam ページでは天候操作が 1.0 の目玉機能の一つに挙げられているため、新しいセーブデータは初期ビルドに関係なくこれらのメカニクスの恩恵を受けます。
最初の種を植える前に習得すべき天候の大カテゴリーは3つあります:
-
降水イベント — Mistshade の酸性雨、Raincrest の清浄な雨、Blazefall の灰降下
-
電気イベント — 移行期の嵐の間の落雷、適切な装備で収穫可能
-
熱イベント — Emberreach の放射熱、後期 Blazefall の凍傷、Mistshade の湿度スパイク
4つの季節とその予報
Mistshade シーズン — 酸性雨の幕開け
Mistshade は一年を低照度、高湿度、そしてこの季節の象徴である 酸性雨 イベントで始めます。保護されていない作物は枯れ、家畜は継続的にダメージを受け、金属ツールは通常より速く腐食します。Doloc Town 探索ガイドのプレイヤーによると、酸性雨対策なしで湿地帯に踏み込むと、半日で防具の耐久値を30%削られる可能性があります。
Raincrest シーズン — 寛大な中盤
Raincrest はカレンダーの中で最も寛容な期間です。通常雨は範囲内のすべての耕されたタイルを自動で水やりし、灌漑作業を完全に不要にします。雷嵐が頻繁になり、適切に配置された 避雷針 があれば、その落雷をクラフトステーション用の蓄電に変えられます。コミュニティテストによれば、作業場の近くに設置された一本の避雷針で tier-2 の forge をゲーム内1週間稼働できるとされています。
Blazefall シーズン — 灰を含んだ移行期
Blazefall は空気を冷やしますが、 灰降下 を持ち込み、鉱物豊富な粉末を作物にまぶします。灰は緩効性肥料として作用し、次の収穫で収穫量を増やしますが、釣りや探索の視界も低下させます。Doloc Town 釣りガイドに従う釣り師たちは、灰を栄養源とするプランクトンに表層の魚群が集まるため、この期間中に釣り上げておく傾向があります。
Emberreach シーズン — 焼けつく閉幕
Emberreach は 焼けつく暑さ イベントをもたらします。日陰構造物や水分補給バフがなければ、作物は正午までに枯れ、動物は熱ストレス状態になります。Emberreach は 雷嵐 と熱が同時に発生できる唯一の季節でもあり、上級クラフターが珍重する希少な storm-glass shards を生み出します。
| 季節 | 象徴的な天候 | 作物への影響 | エネルギーの機会 | 脅威レベル |
|---|---|---|---|---|
| Mistshade | 酸性雨、低照度 | 保護なしでは深刻なダメージ | なし | 高 |
| Raincrest | 清浄な雨、雷 | 自動灌漑ボーナス | 高(避雷針) | 低 |
| Blazefall | 灰降下、霧 | 次の収穫で収穫量増加 | 中(静電気) | 中 |
| Emberreach | 焼けつく暑さ、乾燥雷 | 日陰なしでは枯れる | 高(storm-glass shards) | 高 |
極端な気象イベントを生き延びる
酸性雨の防護戦術
酸性雨はあらゆる露出した表面から耐久値を剥ぎ取り、シールドされていないプレイヤーには蓄積する 腐食ダメージ を与えます。コミュニティでテスト済みの対策は、農場を プラスチックカバー で覆うことです。これは安価にクラフトできる防水シートで、腐食性の水滴の90%を遮断します。プレイヤーの報告によれば、4×4のプラスチック温室は Mistshade のどしゃ降りでもほぼ無傷ですが、同じ期間の開放された畑は収穫量の約40%を失います。
カバーは季節が変わった 後 ではなく 前 に設置してください。酸性雨は Mistshade の最初の3ゲーム日以内に始まり、嵐の最中に急いで防水シートをクラフトすると植え直しに必要な日照時間を無駄にします。経験豊富なプレイヤーは、Raincrest の最終週に丸1日かけてカバーを大量生産し、その後各畑の近くのラベル付きチェストに保管することを推奨しています。
雷嵐の戦略
雷は危険であると同時に利益ももたらします。プレイヤー、動物、接地されていない構造物への直撃は莫大なダメージを与えますが、適切に設置された 避雷針 は落雷をinterceptして バッテリーセル に導き、後で任意の作業台で排出できます。
Steam ワークショップでのコミュニティテストによると、最適な配置は主要な建物クラスターごとに一本の避雷針で、開けた空に明確な垂直ラインが通っていることです。避雷針の範囲内の背の高い木は実際には 効率を下げる ため、雷を引き寄せます。木の天蓋を刈り取るか、避雷針を木の天蓋より高く設置してください。作業場の屋根に一本設置された避雷針は、約12時間分の tier-2 クラフトに必要な電力を蓄電でき、これは標準的なゲーム内の労働週と一致します。
焼けつく暑さへの防御
Emberreach の暑さは逆さまの酸性雨のように機能します:腐食はしませんが、乾燥させます。作物の水分損失は2倍になり、動物の生産量は減り、プレイヤーはスプリント中にスタミナを消耗します。最も安価な対策は、畑の周囲に 日陰の木 を植えることです。これにより3タイルの範囲内で局所的な暑さが推定25%減少します。プレミアムな対策は 気候制御温室 の建設ですが、これは完全な熱ストレス中和の代わりに多量のプラスチックと回路を必要とします。
| 脅威 | 対策アイテム | クラフ tier | 効果 | コスト(概算) |
|---|---|---|---|---|
| 酸性雨 | プラスチックカバー | tier 1 | 90%ブロック | プラスチックスクラップ20個 |
| 雷(プレイヤー) | 避雷針 | tier 2 | 落雷をredirect | 金属50個+回路1個 |
| 熱ストレス | 日陰の木 | tier 1 | 25%削減 | 苗木5本 |
| 熱ストレス | 気候制御温室 | tier 3 | 100%中和 | プラスチック200個+回路5個 |
天候と相乗する遺伝子変異
ケラチン化遺伝子 — 酸性雨のスペシャリスト
ケラチン化 遺伝子は酸性雨ビルドの主力です。これは硬化した真皮層を成長させ、受け取った腐食ダメージを蓄積する ケラチンシールド バフに変換し、酸性雨が降っている間、事実上プレイヤーを 回復 させます。ケラチン化に特化したプレイヤーは、Mistshade の嵐を一度も屋根の下に潜らず farming したと報告しています。
光合成遺伝子 — Raincrest の主力
光合成 遺伝子は清浄な雨水を直接一時的なエネルギーブーストに変換し、避雷針の蓄電とスタックします。Raincrest 中、光合成のプレイヤーは事実上 tier-3 の作業台を無料で稼働でき、電力網のパズルを完全にスキップしたいソロプレイヤーにとって最強の中盤クラフトビルドとなります。
体温調節遺伝子 — Emberreach の解答
体温調節 遺伝子は、暑さと寒さの両極端で体温を安定させます。Emberreach では熱ストレスの蓄積を上限で抑え、後期 Blazefall では凍傷ダメージを防ぎます。これは天候シナジー遺伝子の中で最も防御的で、農業よりも探索を優先するプレイヤーと相性が良いです。Doloc Town 郊外ガイドのルート計画 tips と組み合わせて、回復アイテムを浪費することなく危険なバイオームの奥深くまで進出してください。
| 遺伝子 | 最適な季節 | 主なバフ | 副次バフ | ビルドアーキタイプ |
|---|---|---|---|---|
| ケラチン化 | Mistshade | 腐食→回復 | 耐酸性装備 | タンク型 farmer |
| 光合成 | Raincrest | 雨→エネルギー | 雷耐性 | クラフター |
| 体温調節 | Emberreach / Blazefall | 暑さ/寒さ免疫 | スタミナ安定 | 探索者 |
| スタティックブルーム | Emberreach storms | 雷→作物収穫量 | storm-glass ドロップ率 | ハイブリッド |
天候駆動の農業最適化
季節ごとの作物ローテーション
各季節には、よく育つ作物、かろうじて生き残る作物、まっすぐ失敗する作物があります。根菜類 は食用部分が腐食性のスプレーより下にあるため Mistshade を支配します。穀物作物 は自動灌漑ボーナスのおかげで Raincrest に爆発的に増えます。葉物野菜 は Blazefall の灰で繁栄し、果樹 は日陰インフラがあれば Emberreach の暑さでピークを迎えます。
最大の収穫量を追うプレイヤーは、シーズン中ではなくシーズンの移行期で畑をローテーションします。古い作物を最後の日に抜き、新しいシーズンの初日に土を耕して改良し、すぐにマッチした栽培品種を植えます。これは複数の Steam コミュニティガイドで文書化されているリズムで、ミッドシーズンの入れ替えよりも年間で約20%多くの収穫量をもたらします。
受動的な灌漑と発電
Raincrest の雨は単なる便利さを超えています — それは 無料の労働倍増装置 です。自然降水を受けるすべてのタイルは、クラフト、成長タイマー、遺伝子バフトリガー目的で水やり済みとしてカウントされます。Raincrest の最初の週に恒久的な雨水集水水槽を構築したプレイヤーは、Emberreach の作物を点滴灌漑するのに十分な水を蓄え、敵対的な季節を通常の季節に変えることができます。
作業場の屋根に取り付けられた避雷針アレイと組み合わせれば、本質的に2つの完全な季節を自給自足の農場で過ごすことができます。Emberreach が到来するまでに、クラフトステーションは完全に充電され、水槽は満タンで、遺伝子バフのウィンドウはスタックされているはずです。
戦略的な探索ウィンドウ
天候は、どこをいつ探索すべきかを形作ります。Mistshade は地表の移動には不向きですが、地下遠征には最適です。Raincrest は水位が浅い岸に表層の魚群を押し上げるため、湿地帯での釣りに最適なウィンドウです。Blazefall の灰降下は視界を低下させるため、新しい領域に進出するのではなく、すでに知っているマップ済みゾーンを再訪するのに最適なタイミングです。
ゾーン固有のハザードの詳細については、Doloc Town 湿地帯ガイドが季節の潮の挙動をカバーし、Doloc Town マップガイドが特定の気象イベント中にのみアクセス可能になるランドマークをカタログ化しています。
予報を中心とした最初の1年の計画
新規プレイヤーは天候をランダムなノイズとして扱いがちですが、それはタイトなカレンダーです。標準的な Doloc Town の1年は季節あたり約28ゲーム日で、極端なイベントのウィンドウは各新しい季節の最初の3日以内に開きます。そのウィンドウを中心にクラフトパイプラインを構築してください:
-
各季節の1~3日目:予報を確認し、季節の防御(カバー、避雷針、日陰)を配置する
-
4~10日目:ローテーションスケジュールに基づいて植え付けまたは収穫に焦点を当てる
-
11~20日目:好天候のウィンドウ中に探索を進める
-
21~28日目:素材を備蓄し、装備を修理し、次のシーズン用の遺伝子バフを準備する
-
避雷針の設置 — Raincrest 前に少なくとも3本の避雷針を配置し、落雷1回につき250~400ユニットを収穫する
-
ケラチン化遺伝子のスプライス — Mistshade の最初の酸性雨の前に長期シーズンの作物すべてに適用する
-
バッテリーバンクのアップグレード — 夜間のサイクル用に余剰嵐エネルギーを蓄えるために5,000ユニット tier に到達する
-
温室の換気 — 室内作物の熱ストレスを防ぐために Blazefall 中はベントを開ける
-
解毒遺伝子アンロック — 酸性霧の季節の移行前に遺伝子スプライサー研究所クエストを完了する
-
ラジオ塔の予報確認 — 屋外活動を計画するために毎朝天気予報を確認する
このループは、受動的でありつつ受動的すぎない状態を維持します。嵐のたびに右往左往するのではなく、最初のプレイ中に作成したカレンダーを実行しているだけです。2ゲーム年以内に、プレイヤーはあらゆる緊急事態が事前に構築され、すべての遺伝子ロードアウトが事前に調整されているため、農場が autopilot で稼働していると報告しています。
よくある質問
Doloc Town で最も危険な気象イベントは何ですか?
Mistshade の酸性雨が最も致命的です。なぜなら、装備を腐食させ、保護されていない作物を枯らし、家畜にダメージを蓄積させるからです。Emberreach の焼けつく暑さも僅差で2番目ですが、日陰構造物での緩和は容易です。雷は、避雷針の配置を無視した場合にのみ危険です。
避雷針は本当に無料の発電をしますか?
はい。適切に配置された避雷針は、Raincrest の嵐の間の落雷をinterceptし、電荷をバッテリーセルに蓄えます。コミュニティテストでは、一本の避雷針で tier-2 の作業台をゲーム内約半週間稼働でき、クラフターにとって事実上無料のエネルギーであることが確認されています。
天候重視のビルドに最適な遺伝子は何ですか?
シーズンの焦点によって異なります。ケラチン化は Mistshade を支配し、光合成は Raincrest で優れており、体温調節は Emberreach と後期 Blazefall をスムーズにします。多くの経験豊富なプレイヤーは、一つに絞り込むのではなく、1年を通じて3つすべてをローテーションします。
すべての季節で農業できますか?
もちろんです。コツは作物の種類を季節に合わせることです — Mistshade の根菜類、Raincrest の穀物、Blazefall の葉物野菜、Emberreach の果物 — 各季節の移行期に畑をローテーションすることです。カバー、避雷針、日陰インフラがあれば、すべての季節が生産的になります。
天候は釣りや探索に影響しますか?
はい。Raincrest は魚を浅い岸に押し上げ、最良の釣りウィンドウにします。Blazefall の灰降下は視界を減らすため、新しい領域に進出するのではなく既知のゾーンを再訪するのに有利です。Emberreach の暑さは長距離の移動中にスタミナを消耗させるので、 hydration アイテムを持参するか、体温調節遺伝子と組み合わせてください。
お気に入りの天候シナジービルドや、見落とした予報トリックはありますか?コメント欄にドロップし、この Doloc Town weather guide をあなたの farming 仲間に共有し、あなたの農場に最も多くのトラブルを与えるシーズンを教えてください。