
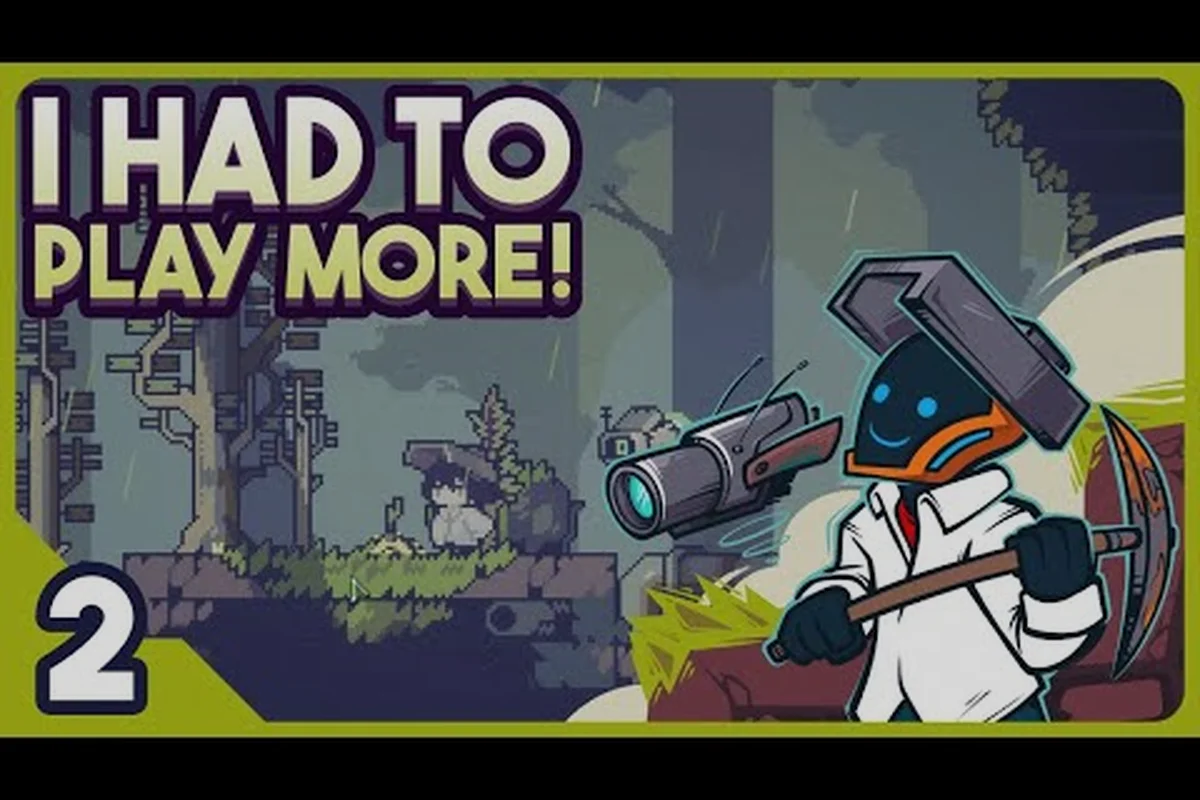
初めてDoloc Townを始めますか?これらのお役立ちヒントがあれば、コストのかかる初期のミスを避け、スクラップ収集の手順を案内し、進行を失わずに初めての作物を植えられます。
Doloc Townはサイドスクロール型のピクセルアート農場シムで、ポストアポカリプティックな世界が舞台であり、日の出ごとに新しい決断が訪れます。Steamの公式Doloc Townページによると、新規プレイヤーはスクラップ収集、最初の作物の植え付け、垂直農場の建設を優先すべきであり、まさにこのウォークスルーで築かれる基礎です。このゲームは30時間以上のコアゲームプレイを出荷しているため、最初の一週間に行う選択はセーブファイル全体に波及します。このガイドはコミュニティでテスト済みの最も信頼性の高いヒントを一つのDoloc Townウォークスルーにまとめ、推測に費やす時間を減らし、廃墟の中のProtiの静かな日常を楽しむ時間を増やせるようにします。
すべての新人農家に必須のDoloc Townお役立ちヒント
高度なシステムに踏み込む前に、経験豊富なDoloc Townプレイヤーが共有している基礎的な習慣を習得しましょう。これらは任意の便利機能ではなく、天候サイクルやバンディット訪問を通じて農場を守るサバイバルルールです。
スクラップ収集の戦術
スクラップは荒廃した世界の万能通貨であり、正午前後に底をつくと、キューに入れたアップグレードがすべて停止します。Steamコミュニティガイドでのコミュニティテストでは、最速のスクラップルートは、農場の南にあるジャンクヤードと東の崩落した高架道路の間をループすることが確認されています。なぜなら、両方のゾーンはゲーム内1日以内にリスポーンするからです。ワークベンチメニューに表示され次第、すぐにScrap Satchelアップグレードを装備してください。バッグは運搬重量を2倍にし、水やり時間を削るバックトラッキングを排除します。
| スクラップゾーン | 最適訪問時間 | 一般的な戦利品 | リスクレベル |
|---|---|---|---|
| 南ジャンクヤード | 朝(午前6時〜10時) | ボルト、ワイヤー、割れたガラス | 低 |
| 東の高架道路 | 正午(午前10時〜午後2時) | モーター、ア alloy プレート | 中 |
| 旧地下鉄入口 | 夕方(午後4時〜7時) | 回路基板、バッテリー | 高 |
リスクが報酬に比例することに注意してください。旧地下鉄入口は最もレアなパーツをドロップしますが、敵対ドローンが出現するため、少なくともティア2の武器を手に入れてから挑みましょう。天候の監視とスクラップ収集を組み合わせてください。豪雨は通常瓦礫の下に埋まったままの隠しキャッシュを明らかにします。
初めての作物選定戦略
最初に植えた作物は初期経済全体を形作り、間違った選択は複数のNPCクエストチェーンから締め出されます。コミュニティは一般にTato Tuberから始めることを推奨しています。なぜなら、貧弱な初期土壌に耐え、ゲーム内わずか4日で成熟し、Miraの料理チュートリアルをアンロックするからです。より希少な種子は最初のスプリンクラーアップグレード後に取っておいてください。
より詳細な作物ティアの分析については、Doloc Town初心者ガイドで土壌品質の進行チャート全体を網羅しています。今のところ、この表を最初の2週間の植え付けチェックリストとして扱ってください。
| 作物 | 成長日数 | 売値 | 最適季節 | アンロック要件 |
|---|---|---|---|---|
| Tato Tuber | 4 | 35スクラップ | 春 | なし |
| Glow Carrot | 6 | 55スクラップ | 春 | 8日目に到達 |
| Dune Onion | 8 | 90スクラップ | 夏 | 水やり缶+ |
| Sun Melon | 12 | 220スクラップ | 夏 | 垂直プロット |
Sun Melonが価値の階段の頂点に位置することに注目してください。これがベテランプレイヤーが夏が終わる前に垂直プロットのアンロックを急ぐ理由です。垂直プロットは農場の専有面積を拡張せずに効果的な栽培エリアを倍増させ、最初のシーズンで利用可能な最大の生産性向上です。
Doloc Townの初日ウォークスルーの優先事項
Doloc Townの最初の数時間は deceptive に遅く感じられますが、クリーンなチェックリストはそれらを通プレイ全体で最も効率的な期間に変えます。最初の3日間をチュートリアルスプリントとして扱えば、5日目のタウンミーティングにはすべてのNPC関係がすでに堅実な基盤の上に到達します。
最初の1週間のチェックリスト
| 日 | 午前のタスク | 午後のタスク | 夕方のタスク |
|---|---|---|---|
| 1日目 | スタータープロット5つを解放 | Miraの店を訪問 | 井戸ポンプを修理 |
| 2日目 | Tato Tuberを植える | 初めてのスクラップ収集 | 全村民と一度ずつ話す |
| 3日目 | 作物を2回水やり | 水やり缶をアップグレード | タウンブルティンを読む |
| 4日目 | 初めての作物を収穫 | 市場で売却 | タウンファンドに寄付 |
| 5日目 | タウンミーティングに出席 | 農業特典をアンロック | 種を再補充 |
ここでの重要な習慣は、さまよう代わりに一日を3つの集中ウィンドウに分割することです。このリズムを一貫して守るプレイヤーは、最初のゲーム内1か月以内にテックツリー ティア3マイルストーンに到達します。これは戦闘と農業がついに均衡するおおよそのポイントです。
さらに圧縮された序盤ルートについては、Doloc TownウォークスルーガイドでMira、Roko、Old Yenの友好度メーターを第2ティアまで早道する正確な贈答シーケンスをマッピングしています。
資源管理と農場建設の基礎
最初の作物が地面に植えられたら、本当の資源パズルが始まります。農場が拡大するにつれて、水、エネルギー、貯蔵をどう同期させるか?Doloc Townは、インフラがそれを支える前に過剰に建設するプレイヤーを罰するため、このセクションではコミュニティテストが推奨し続けるアップグレード順序を順を追って説明します。
垂直農場の建設
垂直農場モジュールはゲーム内で最も誤解されているシステムであり、部分的にはそのUIが実際の収穫量の計算を隠しているためです。垂直建設の各ティアは、その直下のプロットの収穫量を倍増させます。つまり、Sun Melonプロット上の4ティアタワーは基本収穫量の8倍を生産します。コツはマッチドペアで上方向に建設することです。フロアを追加し、すぐに高価値作物を植え、収穫し、次のフロアを追加する。途中の植え付けステップをスキップすると、初期建設ボーナスを無駄にします。
| 垂直ティア | スクラップコスト | 収穫量倍率 | 推奨作物 |
|---|---|---|---|
| ティア1 | 120 | x2 | Glow Carrot |
| ティア2 | 280 | x3 | Dune Onion |
| ティア3 | 520 | x5 | Sun Melon |
| ティア4 | 900 | x8 | ハイブリッドシード |
ティア4ハイブリッドシードは、Miraの料理クエストラインを完了した後にのみ利用可能になります。これも彼女の友好度メーターを高く保つ理由です。異なる種子ティアの並列比較については、Doloc Townのヒントとコツの内訳で各種子のアンロック条件、成長時間、利益/日比をリストアップしています。
水とエネルギーのセットアップ
水とエネルギーは、生産性の高い農場を台無しにする2つの静かなボトルネックです。デフォルトの井戸ポンプは、熱波で枯渇する前に6プロットしかサービスを提供しないため、ベテランプレイヤーは6日目までにRecycled Pumpにアップグレードし、入口近くに水樽を併設します。一方、エネルギーは農場の横にある小型風力タービンから供給されますが、Power Junctionアドオンを設置しない限り、一度に1つのデバイスしか電力供給しません。
| アップグレード | コスト(スクラップ) | 効果 | 優先度 |
|---|---|---|---|
| Recycled Pump | 180 | プロット容量を2倍に | 高 |
| Water Barrel | 90 | 2日間の干ばつを緩衝 | 高 |
| Power Junction | 240 | 一度に2つのデバイスを稼働 | 中 |
| Solar Panel | 420 | 日中の無制限電力 | 低(夏まで) |
Power Junctionは中優先度スロットに置かれます。なぜなら、その価値は実際に所有するデバイスの数に比例するからです。ラボとキッチンの両方がアンロックされる10日目以前にはキューに入れないでください。そうしないと、まだ電力供給するものがないジャンクションにスクラップを費やすことになります。
クエスト進行とNPC関係
Doloc TownのNPCはゲームの感情的な核を実行し、彼らのクエストラインはほとんどの後期ゲームシステムを gating します。RPGamerのDoloc Townレビューによると、ライティングは任意の会話で最も輝きます。これが、それらをスキップすることが助けるよりも傷つける理由です。
クエストボードマスタリー
タウンブルティンボードは毎朝3種類のクエストを掲示します:配達、収集、戦闘です。新しいプレイヤーのほとんどは、より大きな報酬のために本能的に戦闘クエストを選びますが、配達クエストは静かにMiraとRokoの友好度メーターを最も速く上昇させます。なぜなら、成功する配達ごとに小さなダイアログシーンがトリガーされるからです。一方、戦闘クエストはOld Yenに向かい、彼は物語の拍子ではなく武器アップグレードで報酬を与えます。
| クエストタイプ | 報酬 | 友好度ボーナス | 最適対象者 |
|---|---|---|---|
| 配達 | 40〜60スクラップ | Mira / Roko +15 | 2〜5日目 |
| 収集 | 80〜120スクラップ | Old Yen +10 | 6〜10日目 |
| 戦闘 | 150〜300スクラップ | Old Yen +20 | 11日目以降 |
14日目までに3人のNPCすべてにクエストをローテーションさせるプレイヤーは、Co-op Farm Expansion特典をアンロックすることが典型的です。これは、中盤のボス戦が始まる前に利用可能な最大の生活の質の改善です。
戦闘エンカウントと探索のヒント
Doloc Townの戦闘は、突然ではなくなるまでは穏やかに感じられます。荒廃地を徘徊するドローンは急速にエスカレートし、序盤で見つける武器ではより厳しいエンカウントを力で突破するには不十分です。スマートなポジショニング、ヒットアンドランのタイミング、正しいチップのロードアウトが、生のダメージよりもはるかに重要です。
ドローン階層リファレンス
| ドローンタイプ | HP | 弱点 | ドロップ戦利品 |
|---|---|---|---|
| Scout Drone | 30 | 剣のスイング | ワイヤー、ボルト |
| Sentry Drone | 80 | 遠距離攻撃 | ア alloy プレート |
| Hunter Drone | 150 | バーストダメージ | 回路基板 |
| Carrier Drone | 320 | 元素チップ | レアコア |
Carrier Droneは最初のタウンミーティング後にのみ出現し、ティア4垂直農場に必要なレアコアをドロップします。戦闘には少なくとも1つの元素チップを持参してください。なぜなら、キャリアの装甲は通常の kinetic ダメージに耐性があるからです。すべての武器ティアと強化チップの詳細な内訳については、ガイドセクションの戦闘ディープダイブで、弾幕エンカウントに対する各ロードアウトを比較しています。
探索の安全ルール
探索の実行を生かす3つのルール:東の高架道路を8日目以前に渡らない、常にMiraの癒しのシチューを少なくとも1つ携帯する、新しいバイオームに入るたびに睡眠してゲームをセーブする。Steamのディスカッションボードのコミュニティレポートによると、治癒とセーブのルールを無視するプレイヤーは、回収旅行に平均2フルゲーム日を失し、それだけで植え付けウィンドウを完全に見逃すのに十分です。高架道路をボスルームの入り口のように扱ってください。偵察し、準備し、コミットする。
不可欠な探索の安全ヒント:
-
8日目以前に東の高架道路を渡らない — そのポイントを越えて致死的な密度で敵対ドローンが出現する
-
農場を超えた探索の実行ごとに、Miraから癒しのシチューを少なくとも1つ携帯する
-
新しいバイオームに入るたびに睡眠してセーブする — 最近のセーブなしの死亡は2日の回収コストがかかる
-
Carrier Droneエンカウントの前に元素チップを装備する — 単体の kinetic ダメージでは彼らの装甲を破れない
-
Scrap Satchelアップグレード — ジャンクヤードループ中の運搬重量を2倍にし、バックトラッキングを排除する
-
Water Condenserチェック — 熱波はそれを無音で無効にするため、毎朝確認する
-
Tato Tuberを優先 — 貧弱な土壌に耐え、4日で成熟し、Miraの料理チュートリアルをアンロックする
-
10日目以降にPower Junction — まだ電力供給するものがないジャンクションにスクラップを浪費しない
-
最初の1週間は戦闘より配達クエスト — 彼らはMiraとRokoの友好度メーターを早道する
-
夏が終わる前に垂直ティア4 — x8倍率のSun Melonは単一の最大の初期利益ブースト
よくある質問
Doloc Townウォークスルーは最初から最後までどのくらいですか?
焦点を絞った初回プレイスルーは、エンディングに到達するまで約30時間かかり、これは公式Steamページにリストされている数字と一致します。すべてのNPCクエスト、魚の場所、遺伝子コンボを追いかけるコンプリーショ二ストは、容易にその2倍にできます。
Doloc Townで最初にすべきことは何ですか?
南ジャンクヤードに直接行き、何かを植える前にすべてのスクラップの山をクリアしてください。スクラップは最初の水やり缶アップグレードとRecycled Pumpの両方を資金提供し、これらが一体となって最初の熱波中にスタータ農場が崩壊するのを防ぎます。
ゲームを再開せずに農場のレイアウトをリセットできますか?
はい、Miraは15日目に到達するとFarm Replan Toolを350スクラップで販売します。それを使用すると、すべてのプロットが補充され、種子コストの80%が返金されるため、季節遷移のために取っておき、初期の実験には使用しないでください。
どのNPC贈答が最大の友好度ブーストを与えますか?
自分の作物から作られた手料理は、Miraに**+25友好度**を提供し、これはゲーム内で最大の単一贈答ボーナスです。レシピは彼女のクエストラインを通じてアンロックされるため、収穫時にはいつでも料理材料を手元に置いてください。
New Game+でのDoloc Townリプレイは価値がありますか?
間違いなく、1.0リリースでは、最初のエンディング後にのみ作動する限定の荒廃地バイオームと遺伝子コンボが導入されたためです。、これらのお役立ちヒントが最初のランを生き延びるのに役立ったなら、始めたばかりの友人と共有し、以下のコメント欄にあなた自身の発見をドロップして、次のウォークスルーをさらにシャープにしてください。