
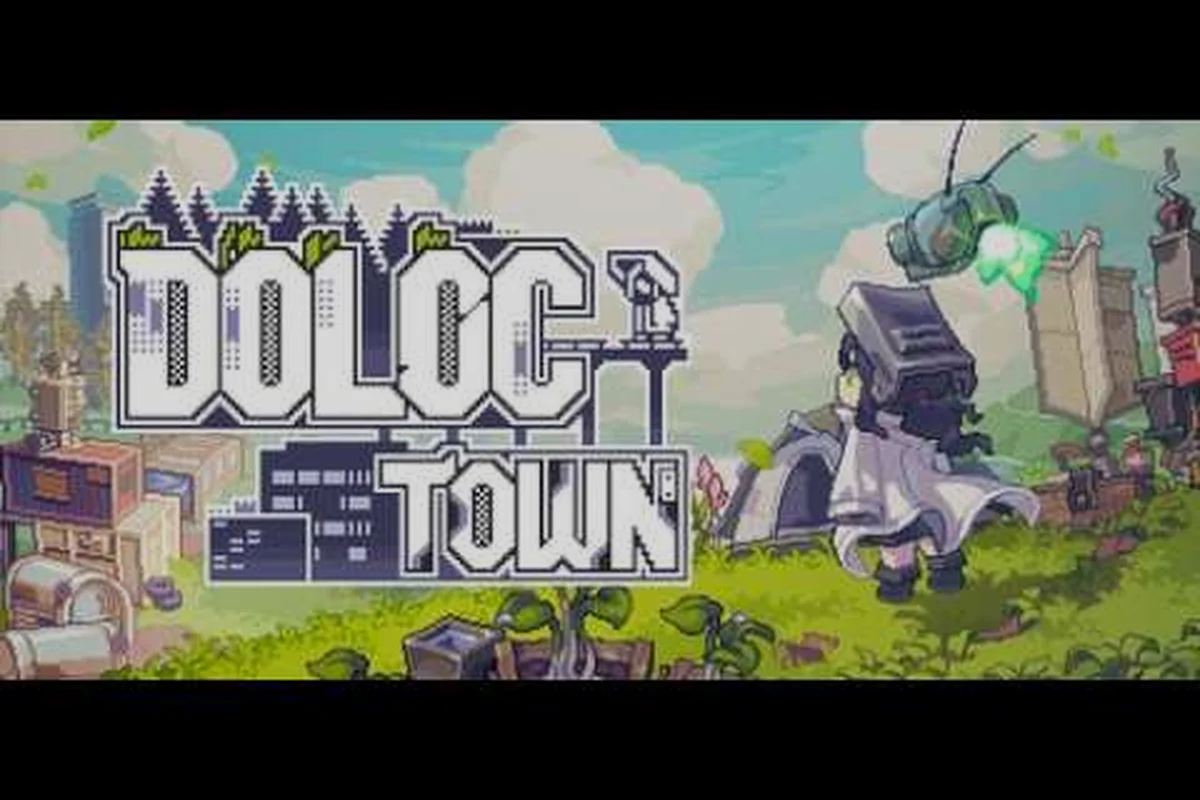
暑い月に間違った区画を選んでしまうと、毎週の収入が静かに減少する可能性があります。そのため、このDoloc Town 乾季最高作物ガイドでは、BlazefallとEmberreachで実施可能なすべての選択肢を、実際の利益計算とともにランク付けしています。どの多次収穫の定番作物が優れているか、どの菌類作物や低木作物が静かに好成績を収めているか、そして遺伝子改変がいかにして平均的な畑を両乾季期間を通じてお金製造機に変えるかをご覧いただけます。
Doloc Townにおける乾季農業が全てを変える理由
Doloc Townの乾季は、2つの異なる季節区分をカバーしています:Blazefall(最も暑い期間であり、土壌水分が低下し、日光を好むつる作物が優勢になる)と、Emberreach(Blazefallを雨季のMistshadeに橋渡しする、より穏やかな温暖期)です。両期間には重要な農業上の特徴があります——耐水性作物は成長速度が低下しますが、耐熱性カテゴリはコミュニティが複数の収穫サイクルを通じて文書化している隠れた収量ボーナスを得ます。
アクティブなSteamプレイヤーから収集されたコミュニティデータによると、乾季の畑はMistshadeに同じ作物を植えた場合と比較して、タイルあたりの販売額が18-25%高くなる傾向があります。これは主に、ほとんどの農家が雨季の定番作物に切り替わる際に、市場が供給低下を記録するためです。この価格プレミアムこそが、Doloc Town 乾季最高作物ティアリストが重要な理由の全てです:あなたは価格プレミアムを獲得するか、BlazefallとEmberreachがそれぞれ続く12-15ゲーム日間にわたって利益を取り逃すかのどちらかです。
-
耐熱性カテゴリはパッシブな収量ボーナスを獲得(つる作物、低木、終末作物、クマ作物)
-
菌類作物は性能が低い——彼らの成長モデルは湿った土壌を想定しているため
-
通常作物は横ばい——成長するが、乾季プレミアムは得られない
-
多次収穫は単収穫より約3倍優れている(Blazefallの全体を通じて)
-
遺伝子改変は季節ボーナスと累積する——時には基本利益を倍にする
-
ニードルリーフ遺伝子は必須——Blazefallの最高温度スパイク時に屋外作物を保護する耐熱性
-
気根遺伝子——干ばつ期間中の屋外水やり要件を排除
-
つるカテゴリは雨季の定番作物より18-25%多く稼ぐ——市場の供給低下により
-
クマ作物はEmberreachでピークを迎える——暖かい橋渡し季節が最高のクマ収量倍率を提供
-
セラー脱水機での加工——脱水機で加工された乾季作物はプレミアム価格で販売される
もしあなたがまだRaincrest中に使用していた作物を植え続けているなら、本質的に割引賃金で働いていることになります。このガイドの残りの部分では、どの種子を買うべきか、どの遺伝子コンボを適用すべきか、そして最初のBlazefallの日の出から最後のEmberreachの日没まで畑が生産性を維持するように植え替えをスケジュールする方法について詳しく説明します。
トップティアの乾季作物のランキング
以下は、Doloc Town 乾季最高作物ティアリストを探している方のための完全なランキングです。ランキングは3つの要素を考慮しています:基本販売価格、乾季収量ボーナス倍率、および多次収穫の可能性。単収穫作物は、タイルあたりの利益が800ゴールドの閾値を超えた場合にのみSティアに登場します。
| ティア | 作物 | カテゴリ | 収穫スタイル | 乾季ボーナス | 推奨遺伝子改変 |
|---|---|---|---|---|---|
| S | Embervine | つる | 多次 | +35% 収量 | ヒートブルーム |
| S | Sunsquash | 低木 | 多次 | +30% 収量 | ハーディルート |
| S | Ashkuma Fruit | クマ | 多次 | +40% 収量 | エンバーパルス |
| A | Blazebarley | 通常 | 単一 | +15% 収量 | ドoughtガード |
| A | Cinderlotus | つる | 多次 | +25% 収量 | ヒートブルーム |
| A | Pyreshade | 終末 | 多次 | +28% 収量 | エンバーパルス |
| B | Dryfern | 低木 | 多次 | +12% 収量 | ハーディルート |
| B | Scorchedtuber | 菌類 | 多次 | +5% 収量 | ドoughtガード |
| C | Plainwheat | 通常 | 単一 | +5% 収量 | なし |
Sティア作物の解説
Sティアの選択肢は3つの特性を共有しています:多次収穫ライフサイクル、熱に適合したカテゴリボーナス、および季節倍率と累積する遺伝子改変。Embervineは、つるカテゴリが基本乾季ボーナスとヒートブルーム遺伝子改変からの累積ブーストの両方を受け、Raincrestでの植え付けと比較して実効収量増加が60%を超えるため、傑出しています。Doloc Town Fandom Wikiのプレイヤーは、成熟時に1回の収穫で1,200ゴールドを超える一貫した販売価格を記録しており、EmbervineがBlazefallの全期間を通じて生産を続けるため、累積利益はどの単収穫競合作物よりも容易に上回ります。
Sunsquashは低木の枠を支配しています。低木作物はつる作物より小さな基本ボーナスを受けますが、ハーディルート遺伝子改変が製品寿命を約4ゲーム日延長し、Blazefall→Emberreach移行前により多くの収穫を可能にします。Ashkuma Fruitはクマカテゴリにあり、これはDoloc Townの6つの作物タイプの中で最も希少で、歴史的に乾季中に最も利益が高いものです。
Aティア作物とその優位性
Aティア作物は弱いわけではありません——純粋なタイルあたり利益計算ではSティアの定番作物に劣るだけです。Blazebarleyは、単収穫穀物の中でまだ熱ボーナスを獲得する数少ない作物の1つであるため、乾季の最高通常作物です。これにより、つる種子のロックを解除する前の初期Blazefallに有用です。Cinderlotusは新しい農業者にとって機能的に予算版のEmbervineであり、PyreshadeはOld City Ruinsに進出し、そこの遺伝子端末をロック解除した人向けの終末作物です。
もし遺伝子ライブラリをまだ構築中なら、これらのAティア作物は、要求される遺伝子がOutskirtsとRiver Valleyバイオームの低ティア敵からドロップするため、改変が容易です。
作物カテゴリとその乾季挙動
Doloc Townは30以上の作物を6つのカテゴリに分類し、それぞれが乾季の熱ボーナスに異なる反応を示します。種子を土に投入する前に、これらのカテゴリの挙動を理解することが不可欠です。間違ったプロットに間違ったカテゴリを配置すると、完璧な遺伝子を持っていても性能が低下します。
| カテゴリ | 乾季ボーナス | 最高のフィールドタイプ | 最悪のフィールドタイプ |
|---|---|---|---|
| 通常 | +5 から +15% | Outskirts | Wetlands |
| つる | +25 から +35% | River Valley | Lotus Marsh |
| 低木 | +20 から +30% | Old City Ruins | Lichen Cave |
| 菌類 | +0 から +5% | Lichen Cave | 任意の乾いた畑 |
| 終末 | +25 から +28% | Old City Ruins | River Valley |
| クマ | +35 から +40% | Treaty Port | Outskirts |
つると低木カテゴリの優位性
つると低木は、Doloc Town 乾季最高作物戦略の根幹です。両カテゴリは最高の熱関連ボーナスを受け取り、多次収穫ライフサイクルに強く反応するためです。EmbervineやCinderlotusのようなつる作物は、土壌が速く排水され、ゲーム内の水分メーターがほとんどの日「乾燥」と読むRiver Valleyプロットで繁栄します。低木は岩が多いOld City Ruins地形を好み、そこで根系が亀裂に固定され、長い乾燥期間を枯れることなく生き延びます。
菌類作物が苦戦する理由
菌類作物はDoloc Townの伝承では湿った有機物を摂取するために進化したため、Blazefall中に植えることは本質的に彼らの設計に対して戦うことになります。ドoughtガード遺伝子改変があっても、菌類作物の実効ボーナスは乾季中に約+5%で頭打ちになり、無料の通常種子を植えるのとほぼ同等です。MistshadeとRaincrestまで菌類プロットを保存してください。基本収量ボーナスが発動し、利益モンスターに変わります。
雨季の性能をより深く見るには、雨季最高作物ティアリストが天候が変わった後にどの菌類やつるの定番作物に切り替えるかを正確にカバーしています。
乾季植え付け戦略と利益計算
作物をランク付けすることは戦いの半分に過ぎません——いつ植えるか、いつ植え替えるか、いつ現金化するべきかを知ることが、サーバー上位10%の農業者と他の農業者を区別するものです。以下は、Doloc Townコミュニティが複数のプレイテストサイクルで改良した段階的な植え付けカレンダーです。
| 日 | アクション | 期待されるゴールド獲得 |
|---|---|---|
| 1日目 | Sティアのつる+低木種子を植える | セットアップコスト |
| 4日目 | つるにヒートブルーム遺伝子を適用 | セットアップコスト |
| 7日目 | 最初のつる収穫 | 1,200-1,400 |
| 7日目 | 即座に植え替え | セットアップコスト |
| 11日目 | 低木の初回収穫 | 900-1,100 |
| 14日目 | Aティア終末作物に切り替え | セットアップコスト |
| 18日目 | つるの3回目の収穫(Blazefallピーク) | 1,500-1,700 |
| 22日目 | Emberreach用に低木を植え替え | セットアップコスト |
| 28日目 | 最終乾季収穫 | 1,000-1,300 |
ステップ1: シーズン前の種子備蓄
Blazefall開始前に、Outskirts商人から少なくとも40個のEmbervine種子、30個のSunsquash種子、20個のAshkuma Fruit種子を備蓄してください。季節が変わる瞬間に価格は急上昇するため、1週間早く購入することで通常種子コストの15-20%を節約できます。
ステップ2: 遺伝子改変準備
遺伝子改変は、Outskirtsラボをアンロックした後、任意の遺伝子端末で適用でき、ヒートブルーム、ハーディルート、エンバーパルス改変は乾季の収益性にとって必須です。Blazefall開始前に少なくとも各6個を備蓄してください。成長途中で適用すると成長ティックがリセットされ、2ゲーム日を失うことになるため、ベンダーを探す時間を失いたくないでしょう。
ステップ3: 畑のローテーションパターン
同じカテゴリを同じタイルに繰り返し植えると収量を最大20%削減する隠れたメカニクスである土壌枯渇を避けるために、畑を7ゲーム日ごとにローテーションしてください。一般的なコミュニティローテーションはつる→低木→終末→休閑で、乾季全体を通じて土壌健康を100%近くに保ちます。ローテーションパターンと季節横断計画の詳細については、季節作物ランキングガイドが全年をマップ化しています。
ステップ4: 植え替え規律
新しい農業者が犯す最大の間違いは、作物を収穫してから別のことをするために離れることです。タイルが空になると土壌は水分を失い始めます。可能であれば同じゲーム日内に植え替え、乾季期間中に種子コストを1回だけ支払うように多次収穫作物を優先してください。
すべての4シーズンにわたってどの作物が優位であるかのより広範な見解については、Doloc Town全体での最高作物ランキングが、単一シーズン性能ではなく年間総利益で整理されたマスターティアリストを提供します。
乾季用の遺伝子改変と利益ブースター
遺伝子改変は乾季利益の最大の倍率であり、それをスキップすることは本質的にタイルあたりの収入を半分にします。3つの改変がBlazefallとEmberreachにとって最も重要であり、それぞれが異なるカテゴリスロットに収まります。
| 遺伝子改変 | カテゴリスロット | 収量ボーナス | 最高の組み合わせ作物 |
|---|---|---|---|
| ヒートブルーム | つる | +25% | Embervine |
| ハーディルート | 低木 | +22% | Sunsquash |
| エンバーパルス | クマ / 終末 | +30% | Ashkuma Fruit |
| ドoughtガード | 通常 / 菌類 | +10% | Blazebarley |
ヒートブルームは王の改変
ヒートブルームは、つる作物がすでに+25-35%の基本ボーナスを受け取るため、乾季農業においてゲーム全体で最高の単一遺伝子改変であると考えられています。ヒートブルームはそれに加えてさらに+25%を累積します。結果は、改変されていない畑の約1.6倍のゴールドを稼ぐつる畑であり、これは作物をBティアからSティアに単独で動かす種類の倍率です。
上級農業者向けエンバーパルス
エンバーパルスはクマ作物と終末作物でのみ機能し、どちらもアンロックにTreaty Portバイオームへの進行が必要です。アクセスできるようになると、Ashkuma Fruitとエンバーパルスを組み合わせることで、Doloc Town 乾季最高作物カタログ全体で最高のタイルあたり利益を生み出します。クマ作物が最大の基本ボーナス(+35-40%)を受け取り、エンバーパルスがさらに+30%を加えるためです。
タイルあたり利益ではなく、時間あたり純利益の最適化を行っている場合は、最高利益作物ガイドが6つのカテゴリすべてにわたって労働時間と収量を分類します。
よくある質問
Doloc Townの乾季中に植える単一の最高作物は何ですか?
Embervineは、3つの利益層を累積するため、Doloc Town 乾季最高作物の全体的な最高選択肢です:つるカテゴリの+25-35%熱ボーナス、ヒートブルーム遺伝子の+25%収量改変、およびBlazefallの全期間を通じて支払い続ける多次収穫ライフサイクル。遺伝子アンロックのない新しい農業者は、Sunsquashから始めるべきです。希少な改変を必要とせずに低木ボーナスを獲得できます。
Blazefall中に菌類作物を植えるべきですか?
いいえ。菌類作物は乾季中に+0から+5%のボーナスのみを得ます。彼らの成長モデルは湿った土壌を想定しているためで、ドoughtガード遺伝子改変もほとんど効果はありません。MistshadeとRaincrestまで菌類プロットを保存してください。基本カテゴリボーナスが+30%に反転し、トップクラスの稼ぎ手になります。
Doloc TownでBlazefallはどのくらい続きますか?
Blazefallは通常12-15ゲーム日間続き、Mistshadeが始まる前に10日間のEmberreach橋渡し期間が続きます。うまく計画された乾季畑は、各収穫直後に植え替えと仮定して、その合計期間にわたって3-4回のつる収穫と2-3回の低木収穫を生み出すはずです。
Ashkuma Fruitの種子はどこで買えますか?
Ashkuma Fruit種子は、Treaty Portアンロッククエストを完了した後にTreaty Port商人によって販売されます。これにはRiver ValleyとOld City Ruinsバイオームの進行が必要です。商人は季節ごとに1回のみ在庫を補充し、乾季数週間中は需要が急増するため、Blazefallが始まる前に買いだめしてください。
1つの作物に同じ遺伝子改変を2回使用できますか?
いいえ、各作物は1つの遺伝子改変スロットのみを受け入れるため、慎重に選択してください。乾季のコミュニティテスト済みの最適装備は、つるにヒートブルーム、低木にハーディルート、クマ/終末作物にエンバーパルスです。単一の植物に複数の改変を組み合わせることは、Doloc Townの現行ビルドではサポートされていないため、単一のタイルに改変を積み上げるのではなく、畑を多様化してください。
上記の選択肢よりも多くを稼いでいる乾季ビルドをお持ちですか?コメント欄に装備をドロップするか、Steamコミュニティハブでセットアップを共有してください——Doloc Town農業メタはパッチごとに変化し、プレイヤーから報告された数字がこのティアリストの正確性を保っています。