
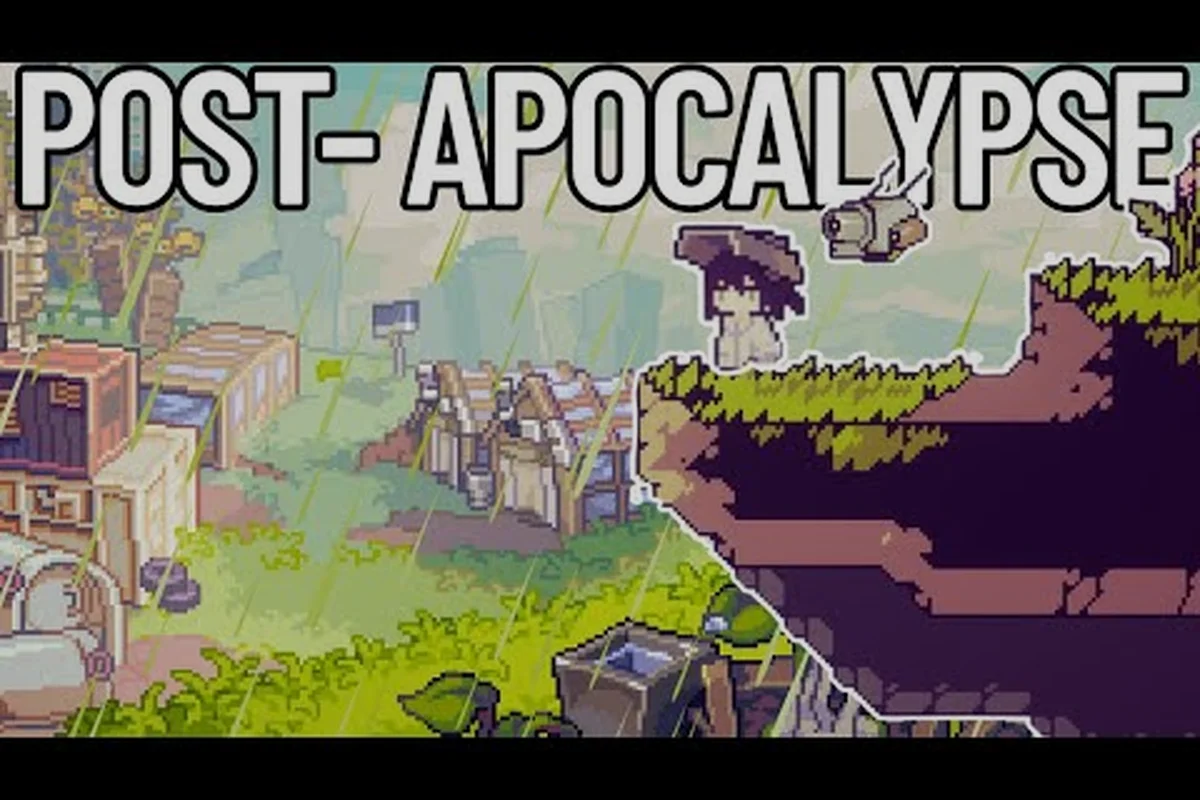
Escolher o que plantar em Doloc Town molda diretamente sua economia no início, meio e fim de jogo. Este guia detalha as Doloc Town culturas mais lucrativas usando dados verificados de rendimento, rebrota e estação, para que cada canteiro de solo arado trabalhe mais para você.
Por Que a Lucratividade das Culturas Importa em Doloc Town
A agricultura em Doloc Town é o principal motor de renda para quase todo novo colono, e a diferença entre um campo mal escolhido e um otimizado pode significar milhares de moedas por semana dentro do jogo. Como o jogo abrange quatro estações distintas — Mistshade, Raincrest, Blazefall e Emberreach — e mais de trinta espécies de culturas espalhadas pelas categorias ordinária, trepadeira, arbusto, fúngica, doomsday e kuma, a intuição geralmente escolhe o canteiro errado. De acordo com a página oficial de Doloc Town na Steam, culturas com múltiplas colheitas e cepas modificadas por genes superam consistentemente as bases de colheita única quando medidas em moedas por dia, e é por isso que uma abordagem de lista de níveis é o padrão entre jogadores experientes.
A lucratividade aqui não é um número único. Ela combina rendimento base, temporizador de rebrota, custo da semente, valor da cadeia de processamento e a estação na qual a cultura pode realmente ser semeada. Uma cultura que parece barata e de alto rendimento no papel pode estar bloqueada atrás de uma estação que você ainda não alcançou, enquanto um rendimento modesto com um ciclo de rebrota rápido pode superar silenciosamente uma cultura "premium" quando plantada em escala. Saber quais culturas estão no topo de cada nível — e quais só parecem boas isoladamente — é o que separa um assentamento em dificuldades de uma fazenda próspera.
O restante deste guia percorre o modelo de cálculo, classifica as Doloc Town culturas mais lucrativas por categoria, mapeia-as nas quatro estações e explica como os módulos genéticos se acumulam sobre o rendimento natural para elevar os retornos ainda mais.
Como Doloc Town Calcula o Lucro das Culturas
Antes de comparar as culturas, é útil entender a fórmula que Doloc Town usa nos bastidores, já que a maioria das listas de níveis da comunidade é construída em torno das mesmas entradas. O lucro diário simplificado por canteiro pode ser expresso como:
Moedas Diárias = (Valor da Colheita × Rendimento ÷ Dias de Rebrota) − Recuperação do Custo da Semente
Onde o Valor da Colheita inclui qualquer renda de pós-processamento se a cultura alimenta uma cadeia de cozinha, alambique ou moinho. A Doloc Town Fandom Wiki documenta essa relação entre dezenas de culturas, e os testes da comunidade no ramo beta público confirmaram que o temporizador de rebrota é o maior fator de variação para lucro a longo prazo. Uma cultura com 4 dias de rebrota e rendimento base de 60 moedas ganha cerca de 15 moedas por canteiro por dia, enquanto uma cultura de colheita única com 120 moedas que precisa ser replantada a cada 9 dias gera em média apenas 13 moedas por canteiro por dia, mesmo com um número inicial mais alto.
Entradas-Chave que Direcionam a Lista de Níveis
-
Rendimento base — moedas brutas colhidas por coleta, antes dos bônus de processamento.
-
Dias de rebrota — quanto tempo até que a mesma planta possa ser colhida novamente. Culturas com múltiplas colheitas reiniciam esse temporizador em vez de forçar o replantio.
-
Custo da semente — investimento inicial; sementes caras podem apagar o lucro se a cultura morrer antes da primeira rebrota.
-
Disponibilidade sazonal — plantar fora da janela permitida falha imediatamente, então uma cultura bloqueada por estação rende zero.
-
Compatibilidade com módulos genéticos — certos genes se acumulam multiplicativamente com o rendimento, transformando uma cultura de nível B em uma de nível A.
-
Multiplicador de processamento — atualizações do porão como a Estação de Enlatados e o Defumador multiplicam o preço base de venda por 2,5–4x
-
Requisito queratinizado — a chuva ácida destrói culturas desprotegidas de Raincrest, então o custo do gene entra no lucro líquido
-
Interação do gene Charge — a velocidade de crescimento aumentada por tempestade reduz o custo efetivo da semente por moeda diária ganha
-
Valor da Fortitude entre estações — culturas que sobrevivem às transições sazonais eliminam completamente os custos de replantio
-
Acúmulo de sinergia — plantar tipos de culturas complementares adjacentes eleva o rendimento efetivo em aproximadamente 10%
Como essas variáveis interagem, uma lista de níveis que classifica apenas por "moedas por colheita" é enganosa. A classificação das Doloc Town culturas mais lucrativas que se segue prioriza moedas diárias por canteiro primeiro, depois eficiência do custo da semente, depois flexibilidade entre estações.
Culturas Mais Lucrativas do Topo da Lista em Doloc Town por Categoria
Abaixo está a tabela de níveis consolidada para as Doloc Town culturas mais lucrativas, extraída de dados relatados pela comunidade e cruzada com o guia de culturas da comunidade Steam. As culturas são agrupadas por sua etiqueta de categoria porque as culturas kuma, doomsday e fúngicas têm comportamento de rebrota muito diferente das anuais comuns.
| Rank | Cultura | Categoria | Estação | Rendimento | Rebrota | Moedas Diárias/Canteiro |
|---|---|---|---|---|---|---|
| 1 | Glowpuff Kuma | Kuma | Emberreach | 95 | 3 dias | ~31 |
| 2 | Sporebell Fungal | Fúngica | Raincrest | 80 | 4 dias | ~20 |
| 3 | Cinder Doomsday | Doomsday | Blazefall | 140 | 7 dias | ~20 |
| 4 | Trellis Vineberry | Trepadeira | Raincrest | 70 | 4 dias | ~17 |
| 5 | Ember Lotus | Ordinária | Emberreach | 60 | 4 dias | ~15 |
| 6 | Lichen Shrub | Arbusto | Mistshade | 55 | 5 dias | ~11 |
| 7 | Taro Root | Ordinária | Mistshade | 45 | 5 dias | ~9 |
| 8 | Ashgrain | Ordinária | Blazefall | 90 | 11 dias | ~8 |
Vacas Leiteiras de Múltiplas Colheitas
As quatro primeiras entradas compartilham um traço: rebrotam sem replantio, o que compõe sua vantagem ao longo do tempo. Glowpuff Kuma está em uma classe própria porque sua rebrota de 3 dias e o bloqueio da estação Emberreach permitem que um canteiro inteiro cycle mais de dez vezes antes da estação virar. Sporebell Fungal é o equivalente em Raincrest e se beneficia dos bônus de sinergia fúngica quando plantada adjacente a outros fungos, por isso a maioria dos jogadores dedica sua estufa de Raincrest a layouts apenas de fungos.
Prêmios de Colheita Única
Cinder Doomsday é a cultura de colheita única mais forte no conjunto de dados, mas sua rebrota de 7 dias e janela exclusiva de Blazefall significam que só funciona para jogadores que planejam um Blazefall inteiro de 28 dias em torno dela. Ashgrain parece impressionante em 90 moedas, mas sofre da maior janela de rebrota na categoria ordinária, o que a mantém no nível B para renda diária. Se você quer um olhar mais aprofundado sobre como essas classificações mudam por estação, o guia de classificação de culturas sazonais divide os mesmos dados em uma visão estação-primeiro.
Detalhamento de Lucro Sazonal nas Quatro Estações
Como Doloc Town rotaciona por Mistshade, Raincrest, Blazefall e Emberreach em um calendário fixo dentro do jogo, o planejamento de lucro é realmente um exercício estação por estação. A tabela abaixo resume a cultura de maior rendimento por estação e uma escolha secundária para jogadores que ainda não desbloquearam o nível máximo.
| Estação | Melhor Cultura | Vice-Campeã | Potencial de Moedas Diárias |
|---|---|---|---|
| Mistshade | Lichen Shrub | Taro Root | ~11 |
| Raincrest | Sporebell Fungal | Trellis Vineberry | ~20 |
| Blazefall | Cinder Doomsday | Ashgrain | ~20 |
| Emberreach | Glowpuff Kuma | Ember Lotus | ~31 |
Lucros de Mistshade e Raincrest
Mistshade é a estação inicial, e a maioria dos novos agricultores escolhe Taro Root por padrão porque o vendedor de sementes a vende barato. Lichen Shrub é a verdadeira geradora de dinheiro aqui apesar do preço mais alto da semente, porque sua rebrota de 5 dias combinada com bônus da categoria arbusto rende cerca de 20% mais moedas por canteiro. Se você ainda está desbloqueando o básico, o guia melhores culturas para Mistshade foca exclusivamente nesta estação. Raincrest inverte completamente o cenário — a sinergia fúngica faz de Sporebell Fungal a vencedora disparada, e o detalhamento das melhores culturas para estação chuvosa vai mais fundo nos layouts de estufa.
Lucros de Blazefall e Emberreach
Blazefall é onde as culturas de colheita única finalmente se tornam competitivas porque a categoria doomsday é ativada, e Cinder Doomsday supera todas as alternativas comuns. Emberreach é o teto de lucro do fim de jogo porque Glowpuff Kuma combina o empilhamento da categoria kuma com o menor temporizador de rebrota do jogo. Para jogadores que ainda não alcançaram Emberreach, o manual das melhores culturas para estação seca cobre a janela de transição de Blazefall para Emberreach, incluindo quais sementes estocar no final de Blazefall.
Modificações Genéticas e Estratégia de Múltiplas Colheitas
Os genes são a camada multiplicadora que empurra as culturas comuns para a conversa das Doloc Town culturas mais lucrativas. Cada cultura pode aceitar até três módulos genéticos, e certos módulos se acumulam multiplicativamente com o rendimento base em vez de adicionar bônus fixos. A tabela abaixo lista os módulos genéticos de maior impacto relatados pelos jogadores e o que eles fazem.
| Módulo Genético | Efeito | Melhor Combinação |
|---|---|---|
| Rendimento+ | Multiplica o rendimento base por 1,25x | Lichen Shrub, Trellis Vineberry |
| Rebrota Rápida | Reduz a rebrota em 1 dia | Glowpuff Kuma, Sporebell Fungal |
| Raiz Resistente | Previne uma falha sazonal | Cinder Doomsday, Ashgrain |
| Aumento de Sinergia | +15% quando adjacente à mesma categoria | Campos de Fungo e Kuma |
| Floração de Moedas | Dobra as moedas na colheita final | Culturas de colheita única |
Módulos Genéticos que Aumentam o Rendimento
Rendimento+ é o primeiro slot mais seguro para quase toda cultura porque o multiplicador de 1,25x se aplica a cada colheita, não apenas à última. Rebrota Rápida é a escolha do segundo slot para culturas com múltiplas colheitas porque cortar um dia de um ciclo de 4 dias vale mais do que um bônus fixo de 10% em um ciclo de 7 dias. Para categorias kuma e fúngica, Aumento de Sinergia é essencial porque o bônus de adjacência só dispara quando você compromete um campo inteiro a um único tipo de cultura, e é por isso que a maioria das fazendas Doloc Town otimizadas usa parcelas de monocultura em vez de layouts mistos.
Estratégia de Culturas com Múltiplas Colheitas
O maior erro que novos agricultores cometem é tratar seu campo como um jardim do mundo real, misturando categorias para variedade visual. Em Doloc Town, misturar categorias quebra os bônus de adjacência, desperdiça fertilizante e força você a gerenciar múltiplos temporizadores de rebrota. Uma abordagem disciplinada de múltiplas colheitas se parece com isto:
-
Dedique a parcela inteira de Raincrest a Sporebell Fungal para acúmulo de sinergia.
-
Guarde as sementes de Glowpuff Kuma para Emberreach e nunca as plante fora de estação.
-
Use os slots genéticos nesta ordem de prioridade: Rendimento+ → Rebrota Rápida → Aumento de Sinergia.
-
Reserve uma fileira de canteiros para experimentação genética para que uma carga genética falha não derrube seu campo principal.
Culturas modificadas por genes podem gerar de 40 a 60% mais moedas diárias do que suas versões não modificadas, e é por isso que jogadores do fim de jogo tratam a bancada de genes como um sistema central de progressão em vez de uma melhoria opcional. Se você quer um panorama mais amplo de como as escolhas genéticas se comparam entre todas as categorias de culturas, o resumo das melhores culturas no geral complementa esta lista de níveis com tabelas completas de atributos.
Perguntas Frequentes
Quais são as Doloc Town culturas mais lucrativas no início do jogo?
No início do jogo você só tem acesso a sementes de Mistshade, então Lichen Shrub e Taro Root são suas opções realistas. Lichen Shrub vence em moedas diárias uma vez desbloqueada, mas Taro Root é mais barato para semear e mais seguro se você ainda não estabilizou sua rotina de rega.
Os módulos genéticos realmente mudam a classificação das Doloc Town culturas mais lucrativas?
Sim, os módulos genéticos podem elevar uma cultura em um nível inteiro. Um Sporebell Fungal base já ganha ~20 moedas por canteiro por dia, mas adicionar Rendimento+ e Rebrota Rápida o empurra para mais de 28 moedas por canteiro por dia, o que é suficiente para destronar Glowpuff Kuma sob a configuração de adjacência correta.
Devo me preocupar com culturas de colheita única como Cinder Doomsday?
Apenas se você puder dedicar um ciclo inteiro de Blazefall a elas e tiver Raiz Resistente alocado em um módulo genético. A rebrota de 7 dias significa que um único evento climático ruim pode apagar uma enorme fatia do lucro, então culturas de colheita única são melhor tratadas como um bônus em vez de uma espinha dorsal.
Para qual estação devo estocar sementes?
Sempre estoque sementes de Glowpuff Kuma bem no final de Blazefall, porque o vendedor de sementes de Emberreach tende a esgotar dentro da primeira semana dentro do jogo. Perder a janela de sementes kuma é o motivo mais comum pelo qual os jogadores perdem seu pico de lucro em Emberreach.
Como a cadeia de processamento afeta o valor da cultura?
Culturas que alimentam uma cadeia de cozinha ou moinho podem render 20 a 40% extras sobre o preço bruto da colheita, mas apenas se você tiver a construção desbloqueada e a receita aprendida. Planeje seu campo em torno da cadeia que você realmente pode usar em vez da cadeia que gostaria de ter.
Qual é a única cultura que você jura em sua fazenda Doloc Town que não entrou nesta lista de níveis? Deixe sua configuração nos comentários — discrepantes relatados pela comunidade frequentemente revelam a próxima grande combinação de gene e rendimento.