
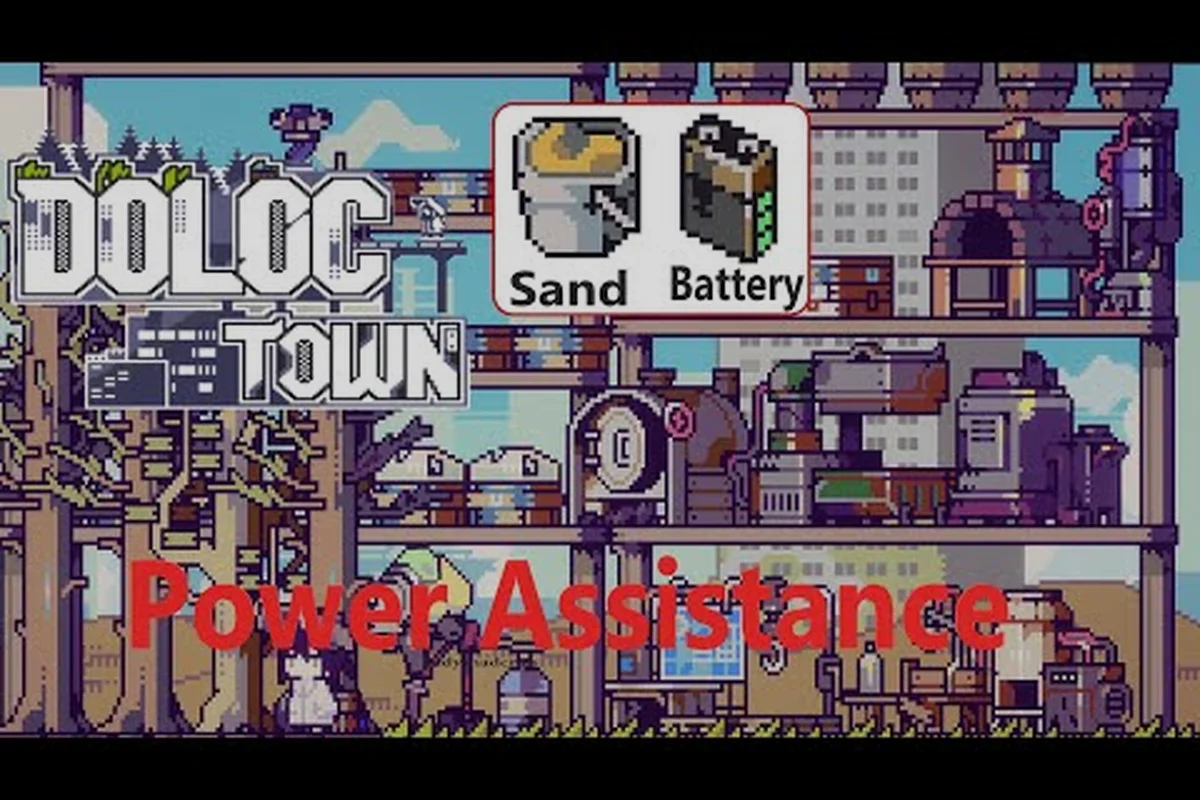
Doloc Town 1.0 liefert die volle Automatisierung in deine Hände, und die klügsten Farm-Layouts überleben die Apokalypse. Dieser Doloc Town Farm-Layout-Leitfaden zerlegt vertikale Plattformen, Drohnenstationen und die Stromnetzverkabelung, die eine Starterhütte am Starttag in eine selbstlaufende Erntemaschine verwandelt.
Grundlagen des Doloc Town 1.0 Farm-Layouts verstehen
Das am 6. August 2026 veröffentlichte 1.0-Update schaltet endlich die volle Automatisierung für vertikales Farmgebäude frei, was bedeutet, dass du Plattformen platzieren, Strom anschließen und Drohnen das Säen, Pflegen und Ernten erledigen lassen kannst, während du das Ödland erkundest. Laut der offiziellen Doloc Town 1.0-Ankündigung beginnt jeder Spieler mit einem Farmgebiet und schaltet weitere durch Siedlungsratsverträge frei. RedSaw Games Studio hat das System so gebaut, dass Plattform-Stapelung, Drohnen-Routing und Energieverteilung als ein einziger geschichteter Farm-Entwurf zusammenarbeiten, weshalb Erstbauer sich oft überwältigt fühlen, bis sie ein Layout auf Papier skizzieren.
Kernprinzipien des Layouts
Drei Regeln bestimmen jede funktionierende Farm im 1.0-Build, und das Ignorieren einer davon führt zu Stromausfällen oder verschwendeten Samen:
-
Baue zuerst vertikal — Plattformen stapeln sich über jede Pflanzkachel, was die produktive Fläche im selben Fußabdruck verdreifacht.
-
Halte Drohnen auf kurzen Routen — jede Sästation, jede Pflegestation und jeder Erntearm sollte in Reichweite eines Stromknotens sitzen.
-
Lasse einen Service-Korridor frei — auch automatisierte Farmen brauchen Reparaturzugang, also reserviere mindestens eine Kachel leeren Gehweg zwischen den Reihen.
Warum vertikales Bauen wichtig ist
Bodenplatz in der Doloc-Siedlung ist beengt, und feindliches Wetter rollt alle paar In-Game-Tage herein, weshalb eine flache Farm Ernten schneller verliert als eine gestapelte. Plattformen heben Samen über Überschwemmungen und Saueregen, während sie weiterhin Drohnen das Absteigen zu jeder Schicht für routinemäßige Pflege ermöglichen. Ein tieferer Durchgang zu Stapel-Mechaniken lebt in unserem Vertikales-Farmgebäude-Aufschlüsselung, der Plattform-Upgrade-Stufen und Gewichtslimits pro Stufe abdeckt. Behandle vorerst vertikalen Raum als deine wertvollste Ressource, da das 1.0-Raster Schwierigkeiten hat, ausgedehnte horizontale Farmen während mehrtägiger Stürme mit Strom zu versorgen.
Stromnetzplanung für volle Automatisierung
Automatisierung in 1.0 läuft nur, wenn das Netz grün bleibt, da Solarpaneele, Windturbinen und ein Backup-Generator jede Drohnenstation, jede Bewässerungsdüse und jeden Kellerkühler auf deinem Grundstück versorgen. Spieler, die die Netzplanung überspringen, sehen oft ihre gesamte Ernte mitten im Zyklus pausieren, wenn eine einzelne Turbine während eines Sandsturms ausfällt. Community-Berichte aus den Steam-Diskussionen deuten darauf hin, dass ein ausgewogenes Hybridnetz die nachsichtigste Wahl für neue Bauherren ist, obwohl ein einzelnes Solarpaneel eine kleine Starterfarm durch die erste Woche tragen kann.
Energiequellen-Vergleich
| Stromquelle | Ausgabeprofil | Wetterempfindlichkeit | Empfohlene Phase |
|---|---|---|---|
| Solarpaneel | Stabile Tagesleistung | Fällt auf ~30% während Sandstürmen | Starter (Tag 1) |
| Windturbine | Hoch aber inkonsistent | Schaltet sich bei ruhigem Wetter ab | Mittelphase |
| Backup-Generator | Konstante Spitzenleistung | Brennt ununterbrochen Kraftstoff | Spätphase |
| Hybridnetz | Ausgewogene Versorgung | Selbstkorrigierend | Endgame |
Ein Hybridnetz koppelt Solar mit einer Turbine, sodass eine ruhige Nacht deine Drohnenstationen nicht aushungert, während ein staubiger Nachmittag genug Leistung von den Paneelen liefert. Spieler, die eine einzelne Turbine mit zwei Paneelen betreiben, berichten von null Stromausfällen über den Standard-Wetterkalender hinweg, was diese Kombination zum sichersten Mittelphase-Setup macht.
Stromanforderungen der Drohnenstationen
Jeder Stationstyp zieht eine andere Wattzahl, und unvorsichtiges Stapeln löst den Schutzschalter aus, weshalb du deine Drohnen-Boots in einer bewussten Reihenfolge staffeln solltest. Die Zahlen unten stammen aus Community-Tests, die von Spielern während der 1.0-Beta berichtet wurden, und wurden gegen die Funktionsliste der Doloc Town Steam-Store-Seite verifiziert.
| Drohnenstation | Ruheverbrauch | Aktiver Verbrauch | Stationen pro Plattform |
|---|---|---|---|
| Sä-Drohne | 5 W | 20 W | 1 |
| Pflege-Drohne | 5 W | 25 W | 1 |
| Ernte-Drohne | 5 W | 30 W | 1 |
| Reparatur-Drohne | 5 W | 15 W | 1 |
Schalte deine Stationen in dieser Reihenfolge ein — zuerst Säen, dann Pflege, dann Ernte — damit das Netz nie versucht, alle drei gleichzeitig zu starten. Die Reparatur-Drohne zieht die geringste Wattzahl, da sie nur aktiviert wird, wenn etwas kaputt geht, was sie zur sichersten Station macht, die man über Nacht laufen lassen kann.
Drohnenstations-Setup und Automatisierungsablauf
Sobald das Netz online bleibt, übernehmen Drohnen den täglichen Trott und befreien Proti, Ruinen zu erkunden, zu angeln oder gegen Feinde zu kämpfen. Der 1.0-Build unterstützt Sä-, Pflege- und Erntestationen, die du auf jeder Plattform mit Sichtlinie zu den bepflanzten Kacheln platzierst, während eine vierte Reparatur-Drohne Gehwege und Dächer patrouilliert.
Drohnen-Konfigurations-Spickzettel
| Drohnenrolle | Reichweite | Abklingzeit | Beste Platzierung |
|---|---|---|---|
| Säen | 3 Kacheln | 4 In-Game-Stunden | Plattformzentrum |
| Pflege | 2 Kacheln | 6 In-Game-Stunden | Rand nahe der Wasserleitung |
| Ernte | 4 Kacheln | 8 In-Game-Stunden | Ecke nahe dem Auswurfschacht |
| Reparatur | 5 Kacheln | 12 In-Game-Stunden | Dach oder Gehweg |
Platziere Ernte-Drohnen an Plattformecken, da sie die längste Reichweite haben, was eine einzelne Drohne jede Kachel auf einer kleinen Plattform ohne Umpositionierung bedienen lässt. Pflege-Drohnen gehören an den Rand am nächsten zu deiner Wasserleitung, damit Nachfüllwege kurz bleiben, während Sä-Drohnen am besten im Zentrum arbeiten, wo Reichweiten-Symmetrie die gesamte Plattform abdeckt.
Optimale Arbeitsschritte
Befolge diese Schleife, um deine Farm rund um die Uhr produktiv zu halten, da gestaffeltes Hochfahren die Wattlast über den Tag verteilt, anstatt den Generator um Mitternacht spitzen zu lassen:
-
Schalte die Sä-Drohne während der Tageslichtstunden ein, wenn Solarpaneele Höchstleistung bringen.
-
Schalte die Pflege-Drohne auf den Nachtmodus, damit sie Pflanzen während des ruhigsten Windzeitfensters bewässert.
-
Stelle die Ernte-Drohne für die Morgendämmerung ein, wenn Winde auffrischen und Turbinen das Netz auffüllen.
-
Betreibe die Reparatur-Drohne einmal pro Woche, um Plattformen zu flicken und kaputte Sprinklerleitungen zurückzusetzen.
Spieler, die diesem Rhythmus folgen, berichten von gleichmäßigen Erträgen mit null Netzstromausfällen, selbst während der härtesten Sandstürme, weshalb Community-Leitfäden auf Discord sich auf genau dieses Vier-Schritte-Muster stützen. Für einen breiteren Vergleich von Community-Layouts siehe unsere Beste-Farm-Layout-Zusammenfassung, die die Top-Baupläne nach Ertrag pro Plattform ordnet.
Farm-Erweiterung und Keller-Upgrades
Nachdem dein Startergebiet mit voller Kapazität läuft, ist der nächste Meilenstein das Freischalten weiterer Farmzonen durch Erweiterungsverträge, die neue Parzellen, frische Stromanschlüsse und zusätzliche Plattformstufen belohnen. Das 1.0-Automatisierungssystem skaliert mit jedem neuen Gebiet, sodass Erweiterung der größte einzelne Hebel für langfristigen Ertrag ist.
Erweiterungsstufen-Aufschlüsselung
| Erweiterungsstufe | Parzellengröße | Neue Plattformen | Baukosten | Empfohlener Strom |
|---|---|---|---|---|
| Stufe 1 | Klein | 2 | Kostenlos | 1 Solarpaneel |
| Stufe 2 | Mittel | 4 | 500 Schrott | 2 Solar + 1 Turbine |
| Stufe 3 | Groß | 6 | 1.200 Schrott | Hybridnetz |
| Stufe 4 | Riesig | 10 | 2.500 Schrott | Volles Hybrid + Generator |
Community-Daten deuten darauf hin, dass die meisten Spieler Stufe 2 zur Mittelphase und Stufe 3 erreichen, sobald sie das Gensystem meistern, während Stufe-4-Parzellen Endgame-Ziele bleiben, die zu Spielern passen, die die Riesige Ernte-Errungenschaft jagen. Die oben genannten Schrottkosten setzen standardmäßiges Spielen ohne Handels-Exploits voraus, daher kann deine Erfahrung variieren, wenn du stark im Genlabor oder bei Kampfdrohnen ausgibst.
Keller-Upgrade-Prioritäten
Der Keller lagert Samen, konserviert geerntete Produkte und schützt deine Drohnen während extremen Wetters, was ihn zum operativen Herzen jeder Spätphase-Farm macht. Drei Upgrades sind am wichtigsten für einen automatisierungsfokussierten Build:
-
Wurzelkeller-Isolierung — verlangsamt Verderb, sodass Überschussernten länger essbar bleiben.
-
Drohnen-Ladestation — lädt untätige Drohnen 20% schneller zwischen Schichten auf.
-
Sturmschutztür — schützt den Keller vor Saueregen-Lecks, die gelagerte Samen beschädigen.
Priorisiere die Drohnen-Ladestation zuerst, da schnellere Drohnenzyklen mehr Ernten pro In-Game-Woche bedeuten, was sich über jedes Farmgebiet summiert. Wenn du breitere Inspiration für Endgame-Parzellen brauchst, zeigt unsere Farm-Design-Ideen-Galerie ein Dutzend community-getesteter Baupläne, die Keller mit mehrstufigen Plattformen kombinieren.
Layout-Vorlagen für verschiedene Spielstile
Kein einzelnes Farm-Layout passt zu jedem Überlebenskünstler, da 1.0 radikal unterschiedliche Builds unterstützt, je nachdem, ob du schnelle Erträge, Erkundungs-Auszeiten oder Endgame-Prestige priorisierst. Unten sind zwei getestete Vorlagen, die die häufigsten 1.0-Spielstile abdecken, basierend auf Community-Bauplänen, die im offiziellen Discord geteilt wurden.
Starter-Layout (Tage 1–10)
Ein 2x2-Plattformraster mit einem Solarpaneel, einer Sä-Drohne, einer Pflege-Drohne und einem einzelnen Auswurfschacht funktioniert am besten für frühe Spieler, da jede Komponente mit Startermaterialien läuft. Halte alle Plattformen auf derselben Ebene, damit eine einzelne Reparatur-Drohne die gesamte Farm ohne Klettern kehren kann, und führe den Auswurfschacht direkt in den Keller, um manuelles Schleppen zu überspringen. Platziere die Wurzelkeller-Isolierung so schnell du dir leisten kannst, da frühe Erträge schnell verderben, wenn Stürme hereinrollen, und Isolierung dir einen Puffer von mehreren In-Game-Tagen kauft.
Endgame-Layout (Nach Stufe 3)
Stapele vier Plattformstufen in einer L-Form mit einer zentralen Turbine, vier Solarpaneelen und einem Backup-Generator, da die L-Form mehr Oberfläche dem Wind aussetzt, während der Fußabdruck kompakt bleibt. Platziere Sä-Drohnen auf der obersten Stufe, damit die Schwerkraft Setzlinge nach unten zu den Pflegegerüsten auf den mittleren Plattformen befördert, und stelle Ernte-Drohnen auf die unterste Stufe neben den Auswurfschacht, damit sie Produkte direkt in die Drohnen-Ladestation des Kellers kippen können. Diese Endgame-Vorlage wird von Community-Veteranen weitläufig als der sauberste Weg zitiert, vertikalen Raum mit voller Netzredundanz zu kombinieren, obwohl einige Spieler das L gegen eine U-Form tauschen, um besser in schmale Parzellen zu passen.
Häufig gestellte Fragen
Was ist das günstigste funktionierende Farm-Layout in Doloc Town 1.0?
Ein 2x2-Plattformraster mit einem Solarpaneel, einer Sä-Drohne und einer Pflege-Drohne ist das günstigste funktionierende Setup. Es läuft komplett auf Solar, kostet keinen Schrott zum Freischalten und produziert genug Nahrung, um die frühen Hauptquests zu räumen, ohne Kraftstoff zu verbrennen.
Brauchen Drohnenstationen eine direkte Sichtlinie zu Pflanzen?
Ja. Sä-, Pflege- und Ernte-Drohnen benötigen alle Sichtlinie zu den Kacheln, die sie bedienen, weshalb Plattformecken und -ränder die stärksten Platzierungsoptionen in jedem Doloc Town Farm-Layout-Leitfaden sind.
Kann ich Solarpaneele und Windturbinen auf derselben Parzelle betreiben?
Absolut. Ein Hybridnetz mit zwei Solarpaneelen und einer Windturbine ist das stabilste Mittelphase-Stromsetup. Das Doloc Town Automatisierung 1.0-Update behandelt Hybridnetze als ein einziges ausgewogenes Netzwerk, sodass Stromausfälle bei normalem Wetter fast nie passieren.
Wie schalte ich das zweite Farmgebiet frei?
Schließe den Siedlungsratsvertrag ab, der ausgelöst wird, nachdem du deine erste volle Ernte ablieferst. Der Vertrag belohnt eine Stufe-2-Parzelle plus die Materialien, die zum Bau eines zweiten Plattformrasters benötigt werden.
Sollte ich den Generator kaufen, bevor ich auf Stufe 3 erweitere?
Warte, bis die neue Parzelle Schrott generiert, da ein Backup-Generator ununterbrochen Kraftstoff verbrennt. Ihn zu bezahlen, bevor du stetiges Einkommen hast, entleert Ressourcen schneller als die meisten neuen Spieler erwarten, weshalb Community-Veteranen den Generator verzögern, bis die Stufe-3-Erweiterung vollständig ausgebaut ist.